
How To Replace Recessed Can Lights With Chandeliers Or Ceiling Fans
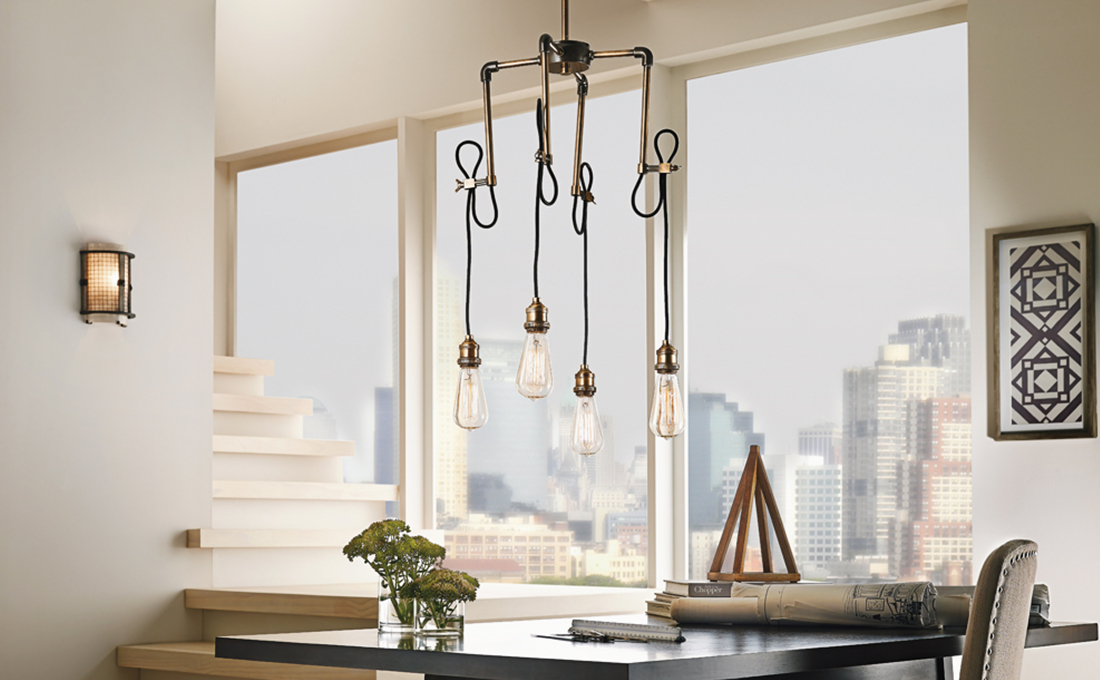
Replacing your old recessed can lights with new, stylish chandeliers or ceiling fans is a great way to update the look of your home. Not only will you get rid of those ugly, outdated can lights, but you’ll also be able to add some much-needed light and air circulation to your rooms. Chandeliers or Ceiling Fans Replace Recessed Can Lights is a great do-it-yourself project that anyone can do in just a few hours. Here’s how:
First, turn off the power to the room you’ll be working in at the breaker box. Then, remove the old recessed light fixture by unscrewing it from the ceiling. Be careful not to drop the fixture or break the glass globe.
Next, remove the old light bulb and socket from the fixture. If the light bulb is stuck in the socket, you can try twisting it loose with a pair of pliers. Once the light bulb and socket are out, discard them.
Next, take your new chandelier or ceiling fan and hold it up to the ceiling where the old recessed light was. Use a pencil to mark the four holes where you’ll need to drill pilot holes. Be sure to drill the pilot holes slightly smaller than the screws that came with your chandelier or ceiling fan so they’ll be easy to screw in.
Take down your chandelier or ceiling fan and put the mounting bracket in place. Use the four screws to secure the bracket to the ceiling. Be sure to screw them in tight so your chandelier or ceiling fan doesn’t come crashing down.
Now, it’s time to install your new light bulb and socket. First, twist the new light bulb into the socket. Next, screw the socket into the chandelier or ceiling fan. Finally, twist the wires together and tuck them up into the fixture so they’re out of sight.
Now, all you have to do is turn on the power at the breaker box and enjoy your new light fixture!