
A Complete Guide For DIY Wooden TV Frame
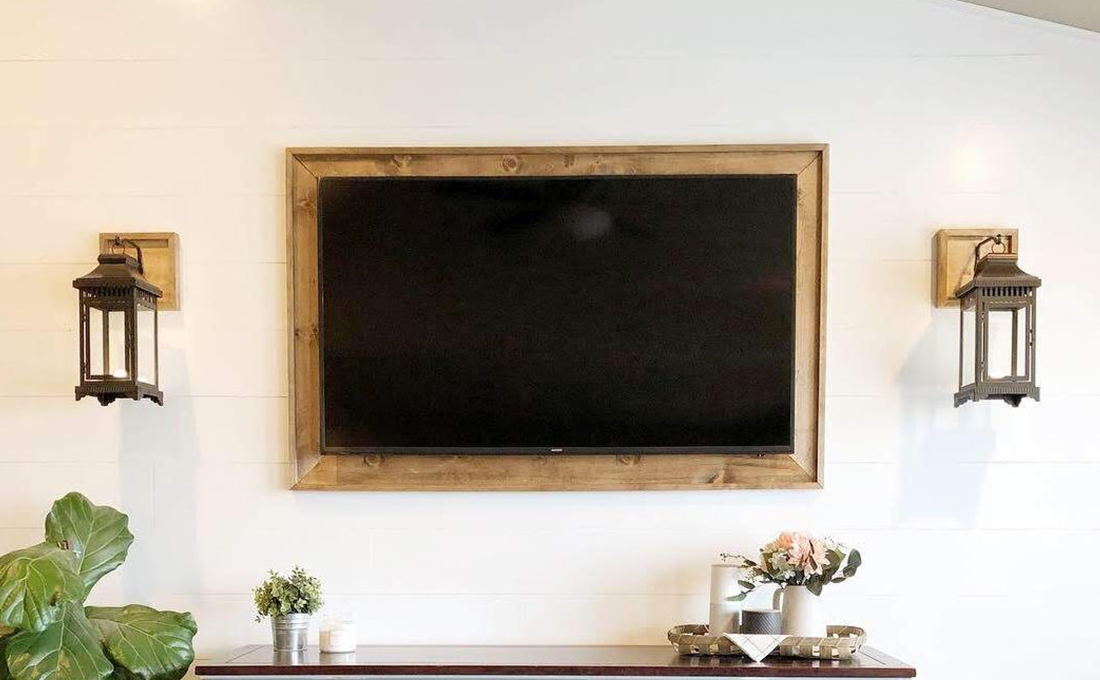
If you’re looking for a fun and unique way to display your television, look no further than this custom wooden TV frame tutorial. This easy-to-follow guide will show you how to build your own frame, step by step.
Here’s what you’ll need:
* 1×4 lumber (we used pine, but you can use whatever type of wood you like)
* 1×2 lumber (for the frame trim)
* Wood glue
* Nails or screws
* Paint or stain (optional)
Step by step:
* You’ll start by measuring the dimensions of your TV and then cutting the wood to size.
* First, cut your 1×4 lumber into four pieces that are the same length as the sides of your TV. Then, cut the 1×2 lumber into four pieces that are the same length as the top and bottom of your TV.
* Next, glue the 1×4 pieces to the sides of your TV, making sure they’re flush with the edges. Then, do the same with the 1×2 pieces, attaching them to the top and bottom of your TV.
* Once the glue has dried, you can paint or stain your frame if you’d like. We chose to leave ours natural, but feel free to get creative!
* Now all that’s left to do is enjoy your new custom TV frame.
Tips:
* If you’re using a larger TV, you may want to use 2×4 lumber instead of 1×4 lumber.
* If you want to add more of a decorative touch to your frame, try using molding or trim instead of the 1×2 lumber.
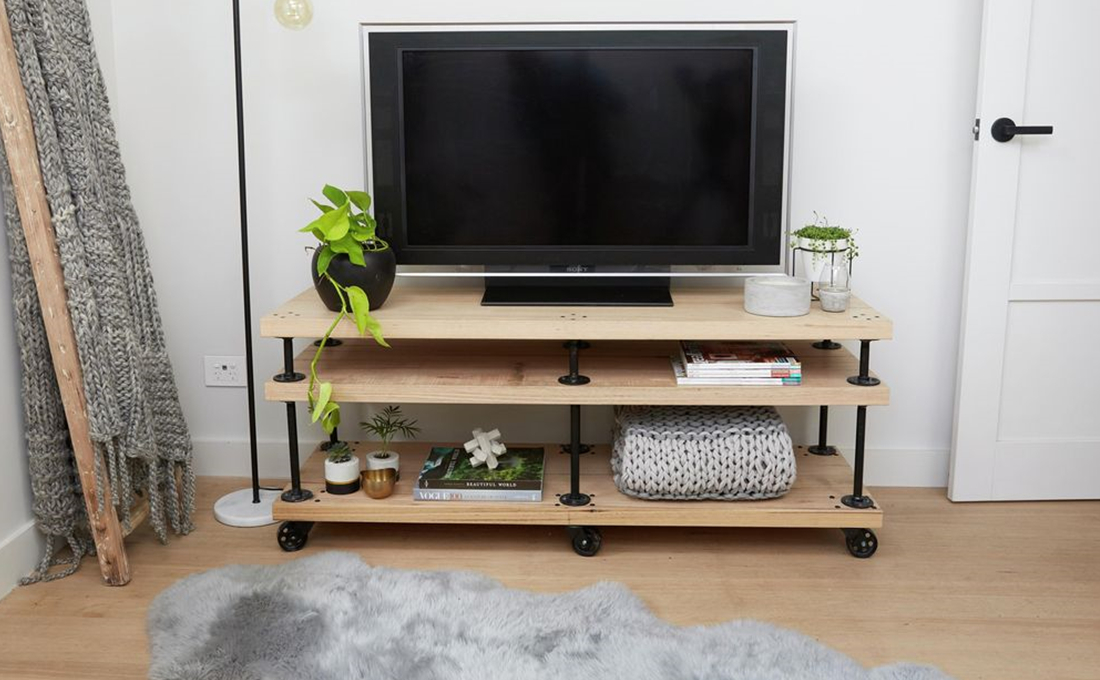
* You can also add shelf brackets to your frame and use it to store your DVD player, cable box, or other electronics. Just make sure the brackets are wide enough to fit your TV.
Conclusion
Building a custom TV frame is a great way to add a personal touch to your home theater setup. It’s easy to do and can be customized to fit any size TV. Plus, it’ll help keep your TV safe from little hands or paws.